
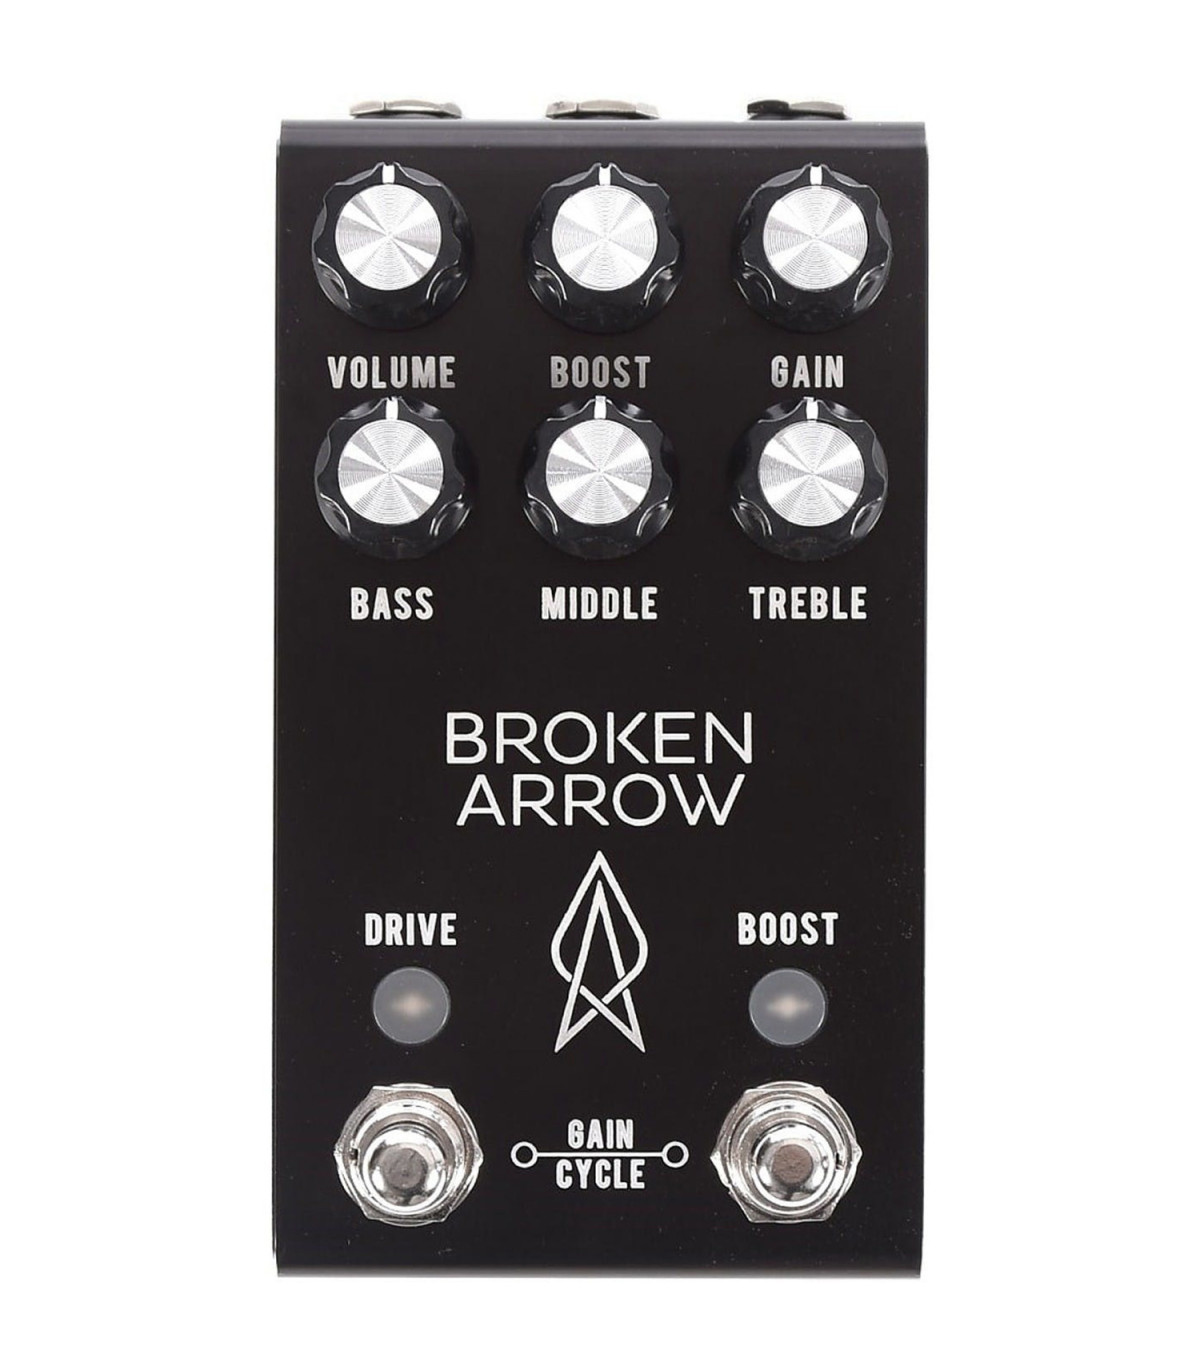
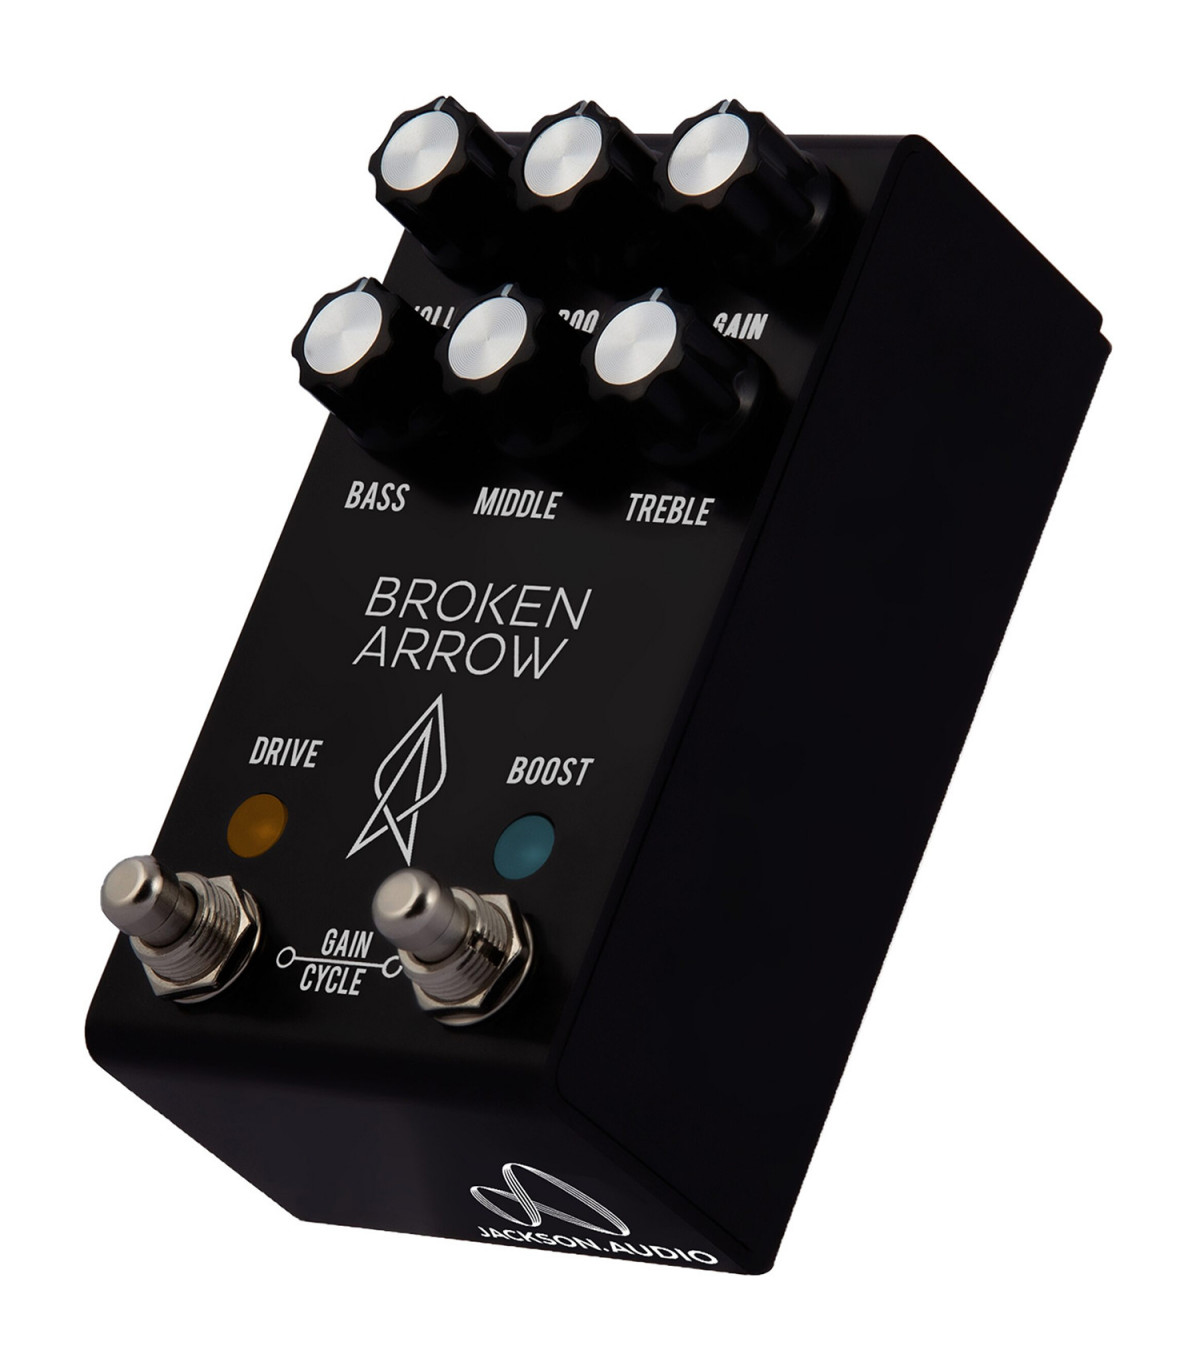
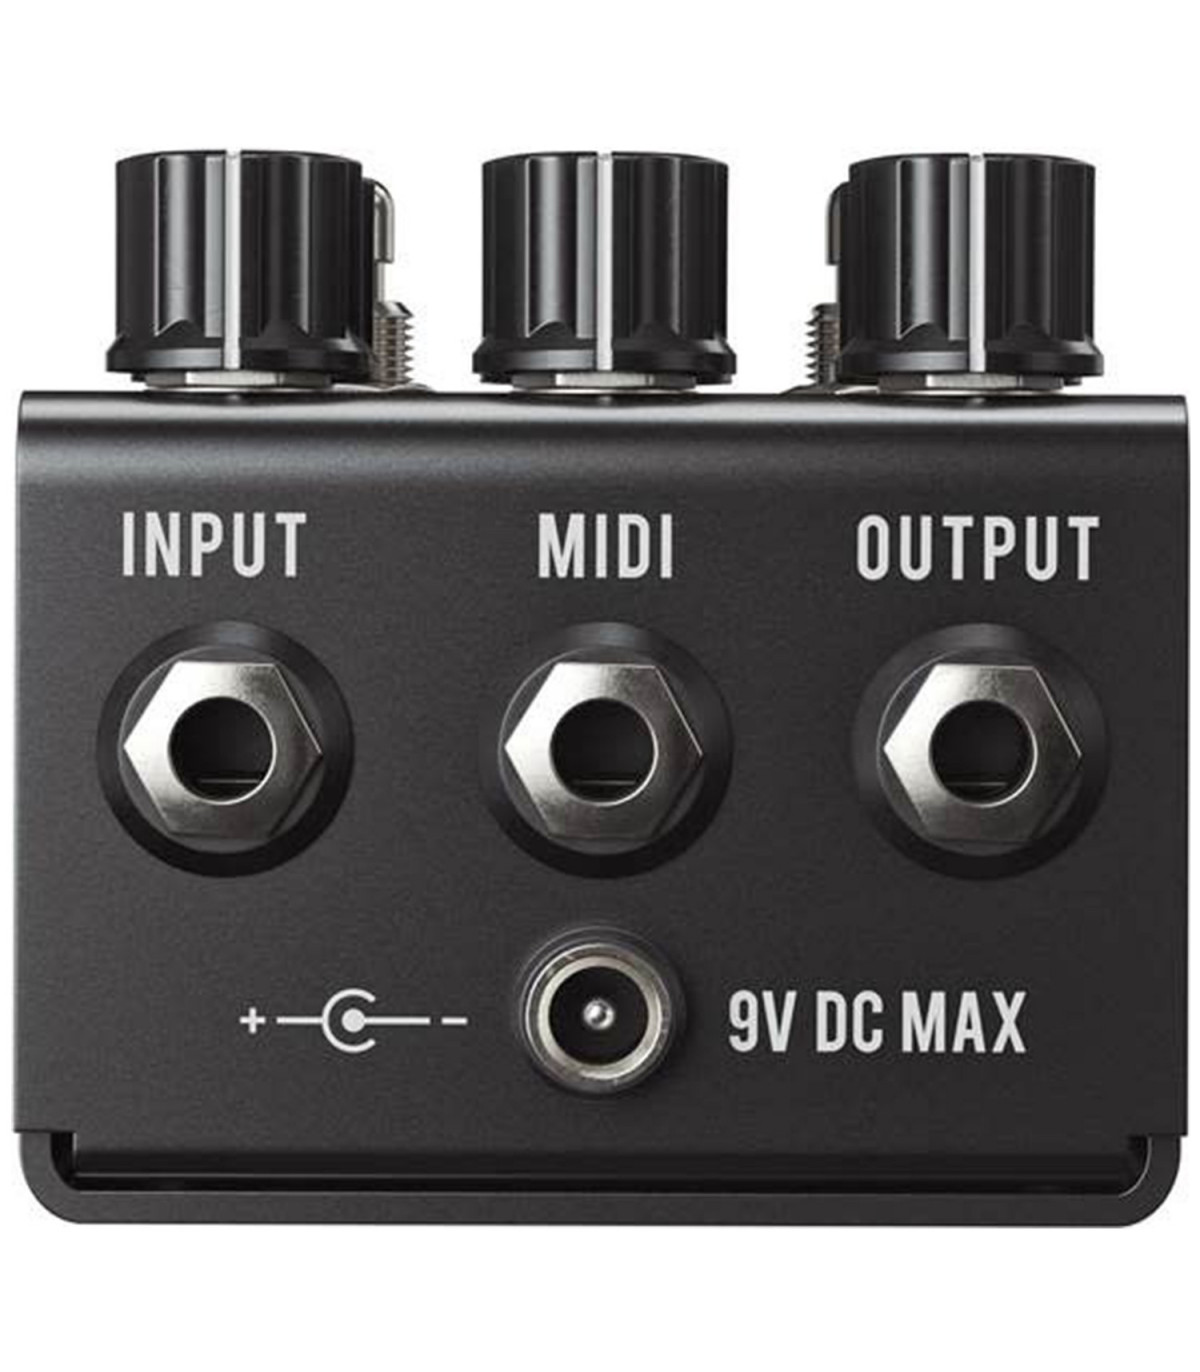


Jackson Audio Broken Arrow Midi Black



- Preset 1 - YELLOW LED: Treble Booster. Very useful for creating a thinner tone or stacking with a thick-sounding overdrive.
- Preset 2 – GREEN LED: Mid boost. Thicker than the yellow mode, the green mode provides more powerful bass and takes on the character of a mid booster with a tone closer to a Tubescreamer.
- Preset 3 – AQUA LED: Custom boost. For most guitarists, this is a perfect setup that complements the majority of overdrive configurations in the Broken Arrow.
- Preset 4 – BLUE LED: Full range. This preset does not emphasize any particular frequency, only the natural tone of your guitar.
Programming Mode
To select a preset, press and hold the BOOST footswitch for more than 1 second, and the programming mode will be activated. When in this mode, the BOOST LED will flash to indicate that you are in programming mode. A quick tap on the BOOST footswitch will toggle between presets, allowing you to hear how the settings change as you scroll through them, provided the boost circuit was active when entering programming mode. Once you reach the preset you want to use, press and hold the BOOST footswitch for more than 1 second to exit programming mode.
Overdrive
The Broken Arrow overdrive circuit is designed along the same lines as the legendary TS-808. The difference between the TS-808 and the BROKEN ARROW is that there is no pronounced midrange boost, and the tone is relatively flat when all controls are set to 12:00. Since Broken Arrow features a 3-band active EQ, there's no need to unnecessarily boost the midrange, as you can easily achieve it by turning up the MID knob. This section also has cwith 4 diode presets and the innovative Gain Cycle function.
Presets
This pedal allows for 4 different preset diode clipping settings that drastically change the tone and feel of how the overdrive clips and distorts.
- Preset 1 – GREEN: Classic Screamer. Two symmetrical silicon diodes provide the classic boost and compression that define the Tube Screamer.
- Preset 2 – MAGENTA: Asymmetric cut. Three asymmetric silicon diodes will clip the upper and lower parts of the guitar waveform differently, resulting in a richer and more interesting tone.
- Preset 3 – BLUE: Symmetrical cut. Four symmetrical silicon diodes will evenly clip the upper and lower parts of the guitar waveform, delivering a more focused and direct tone.
- Preset 4 – AMBER: Vintage Marshall. Two RED LEDs are used to symmetrically trim the top and bottom parts of the guitar waveform evenly. LEDs allow for a MUCH higher margin of control to keep the tone more open and less compressed, like an vintage Marshall.
The Programming Overdrive pedals are set up in a similar way to how boost settings are configured.
Gain Cycle
The Gain Cycle function Take the knob setting. Gain, which selects its maximum gain, and divides that gain level into 4 equal parts. Let's say, for example, that the knob Gain is set to the maximum setting, or in other words, 100% gain. Each time you press both footswitches simultaneously, the pedal's gain will increase by 25% until it reaches 100%. The next press after 100% will restart the gain cycle from 25%.
The brightness of the DRIVE LED will change to indicate the selected gain percentage. The higher the percentage, the brighter the DRIVE LED will be. For example:
- Gain Cycle #1 – DIM LED – 25% of the Gain knob's maximum value.
- Gain Cycle #2 – BRIGHTER LED – 50% of the knob's setting Gain.
- Gain Cycle#3 – BRIGHT LED – 75% of the knob value of Gain.
- Gain Cycle#4 – VERY BRIGHT LED – 100% of the knob value Gain.
MIDI Control
By default, Broken Arrow is shipped with MIDI channel 1 selected. This can be changed by pressing and holding the Drive footswitch. Press the Boost footswitch to increase the MIDI channel number. You'll notice that while holding down the Drive foot switch, the Boost LED will flash to indicate which MIDI channel you've selected. For Example: 7 flashes = MIDI channel 7. After the LED stops flashing, the pedal pauses for 2 seconds so you can see when the LED has stopped blinking. The LED will keep flashing as long as you hold down the Drive footswitch. Once you have selected the desired MIDI channel and verified it by counting the flashes, simply release the Drive footswitch. The pedal will then save this MIDI channel to the microprocessor's internal EEPROM and restart.
EAN13: 0600093087560